
Emergency Roof Repairs in Guildford: What to Do When Disaster Strikes
When disaster strikes your roof in Guildford, knowing how to respond quickly is crucial. First, you’ll need to assess the damage to prevent complications. It’s imperative to guarantee your safety while documenting what you find. You might think about temporary fixes, but understanding when to call in professionals can save you time and money. What happens next can greatly affect your home’s integrity and your finances.
Key Takeaways
- Conduct a thorough inspection to assess roof damage and identify leaks before proceeding with repairs or contacting professionals.
- Use emergency tarping and roofing tape to temporarily seal leaks and minimise further damage until professional help arrives.
- Ensure safety by wearing protective gear and being aware of structural integrity and surrounding hazards during inspections.
- Document all damage with photos and detailed notes to support insurance claims and contractor evaluations.
- Select a reliable roofing contractor in Guildford by checking credentials, reputation, and securing a written contract for clarity on repairs.
Understanding Common Causes of Roof Damage
When you understand the common causes of roof damage, you can take proactive steps to protect your home.
Weather impacts play a significant role in roof deterioration. Heavy rain can lead to leaks, while strong winds may loosen or damage shingles. Hail can create punctures in roofing materials, compromising their integrity.
Additionally, the type of roofing materials you choose affects how well your roof withstands these elements. Asphalt shingles may be vulnerable to high winds, while metal roofs typically offer better durability.
Poor installation and lack of maintenance can exacerbate these issues, leading to costly repairs. By recognising these factors, you can make informed decisions to improve your roof’s resilience against damage and extend its lifespan.
Assessing the Extent of the Damage
To assess the extent of the damage, start with a thorough visual inspection of your roof.
Look for leaks, cracks, and any signs of wear that could indicate underlying issues.
Documenting the damage accurately will help you communicate effectively with your repair contractor.
Visual Inspection Techniques
Although you might be keen to start repairs, conducting a thorough visual inspection is essential for accurately evaluating the extent of roof damage.
Begin your roof inspection by checking for visible signs of wear, such as missing shingles, rusted flashing, or sagging areas. Use visual techniques like binoculars to examine hard-to-reach spots, and don’t forget to inspect the gutters for debris that could indicate leaks.
Pay attention to discolouration or water stains on the roof surface, as they may suggest underlying issues. Document your findings, as this information will help guide your repair strategy.
Prioritise safety by using a stable ladder or consider hiring a professional if the damage appears extensive or the inspection site is hazardous.
Identifying Leaks and Cracks
After completing your visual inspection, the next step is identifying leaks and cracks to assess the extent of the damage.
Start with leak detection by checking for water stains on ceilings and walls, which often indicate underlying issues. Use a moisture meter to pinpoint hidden leaks, especially in hard-to-reach areas.
For crack assessment, examine joints, flashings, and seams for any visible fissures. Pay close attention to areas around chimneys and vents, as these are common leak points.
Document the size and location of each crack, noting whether they’re small hairline fractures or larger gaps that may require immediate attention.
Addressing these issues quickly can prevent further damage and costly repairs down the line.
Documenting Damage for Repairs
Once you’ve identified leaks and cracks, documenting the damage is essential for effective repairs. Start by taking clear damage photos from multiple angles, capturing the extent and location of each issue. This visual evidence will help you and any contractors understand what needs fixing.
Make sure to include close-ups that highlight specific problems, such as missing shingles or water stains. Alongside these images, compile repair documentation detailing the time, date, and conditions during the incident. Note any immediate actions you took, like temporary tarping, as this information can influence repair strategies.
Thorough documentation not only aids in repairs but also helps with insurance claims, ensuring you’re covered for any necessary costs.
Safety First: Protecting Yourself and Your Property
When facing roof damage, you must first assess immediate dangers, such as unstable structures or falling debris.
Evacuate affected areas to guarantee everyone’s safety, and secure any loose materials that could pose a risk.
Prioritising these steps will protect both you and your property during emergency repairs.
Assessing Immediate Dangers
How can you quickly assess immediate dangers to guarantee your safety during emergency roof repairs?
Start with hazard identification—look for visible structural damage, loose debris, or any electrical hazards. Ascertain that you’ve followed emergency protocols: wear appropriate safety gear, like helmets and gloves, to protect yourself from potential injuries.
Check for signs of water damage, such as sagging ceilings or mould growth, which can indicate compromised stability. If there’s a risk of falling debris or unstable structures, maintain a safe distance.
Be aware of weather conditions; high winds or rain can increase hazards. Always have a plan in place for quick evacuation should the situation worsen.
Prioritise your safety and that of others around you.
Evacuating Affected Areas
Evacuating affected areas is essential for ensuring your safety and protecting your property during emergency roof repairs.
First, identify the need for an emergency evacuation based on the severity of damages. If the roof is compromised, move to designated safe zones away from falling debris or unstable structures.
Inform family members and neighbours about the evacuation to minimise risks. Gather necessary items, including identification and essential documents, but prioritise your safety over belongings.
Stay updated on local emergency services for guidance and follow their instructions closely. Keep a safe distance from the affected area until professionals declare it secure.
Securing Loose Materials
As you prepare for emergency roof repairs, securing loose materials around your property is essential to prevent further hazards.
Start by inspecting roof flashing and any other elements that might be loose. If you notice any loose shingles, temporarily secure them with roofing tape or weights to minimise wind damage.
Gather and store any displaced materials, like broken shingles or debris, to prevent them from causing injuries or additional damage. If you’re unable to handle larger items, consider enlisting help.
Always wear appropriate safety gear, including gloves and goggles, while working.
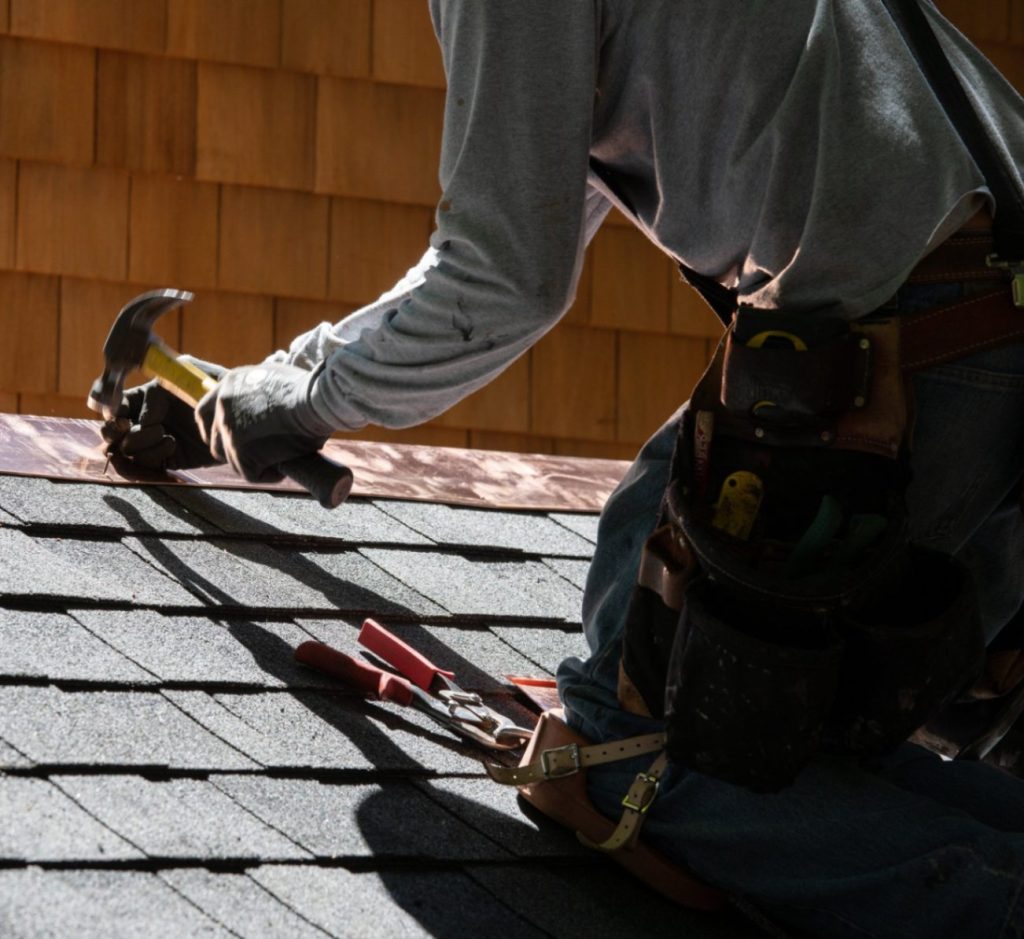
Temporary Fixes You Can Implement
When your roof sustains damage, implementing temporary fixes can prevent further complications while you arrange for professional repairs.
Start by using emergency tarping; cover the damaged area with a waterproof tarp to shield it from rain and debris. Secure the tarp with ropes or heavy objects to guarantee it stays in place.
For smaller leaks, quick patching with roofing tape or sealant can provide immediate relief. Clean the area around the leak, apply the tape or sealant generously, and make certain it adheres well.
If shingles are missing, try to replace them with similar materials or use a plastic sheet as a temporary measure. These methods can help minimise damage until a professional can address the issue properly.
When to Call in Professional Help
While temporary fixes can provide immediate relief, knowing when to call in professional help is essential for ensuring your roof’s long-term integrity.
If you’re facing emergency situations like significant leaks, visible structural damage, or missing shingles, it’s time to seek a professional assessment.
Don’t underestimate the risks; a compromised roof can lead to further damage within your home.
Professionals have the expertise to identify underlying issues that may not be visible. They can recommend appropriate repairs and prevent future problems, saving you money in the long run.
If you’re unsure about the extent of the damage, err on the side of caution and consult a roofing expert.
Your roof’s health directly impacts your home’s safety and value.
Navigating Insurance Claims for Roof Damage
Maneuvering insurance claims for roof damage can be overwhelming, especially if you’re unsure where to start.
First, review your insurance policy to understand coverage specifics and what’s required for filing a claim. Document the damage with clear photos and detailed notes, as this evidence will support your claim.
Next, initiate the claim process by contacting your insurance provider. Be prepared to answer questions about the damage and provide any necessary documentation. Keep a record of all correspondence and deadlines.
Once your claim is submitted, an adjuster will assess the damage. Stay proactive by following up regularly to guarantee timely processing. Guiding this process diligently can help you secure the funds you need for repairs.
Tips for Choosing a Reliable Roofing Contractor
After securing your insurance claim for roof damage, the next step is finding a reliable roofing contractor to handle repairs.
Start by verifying contractor credentials; confirm they’re licensed, insured, and have a solid reputation in Guildford. Look for a contractor with experience in emergency repairs, as they’ll understand the urgency of your situation.
Ask for client testimonials to gauge previous customers’ satisfaction. Reach out to referees and inquire about their experiences, focusing on quality, timeliness, and professionalism.
Get multiple quotes to compare pricing and services, but don’t just choose based on cost. A trustworthy contractor will offer a balance of quality and affordability.
Finally, confirm they provide a written contract detailing the scope of work and payment terms.
Preventative Measures for Future Roof Safety
To guarantee your roof remains in top condition and to prevent future damage, it’s vital to implement a routine maintenance plan. Regular roof maintenance involves inspecting for damaged shingles, clearing debris, and checking for leaks.
Schedule inspections at least twice a year, preferably in spring and autumn, to address potential issues before they escalate.
Incorporate weatherproofing techniques, such as applying sealants and ensuring proper drainage, to protect your roof from harsh elements.
Make sure flashings are secure and gutters are clean to prevent water pooling. Additionally, trim overhanging branches that could cause wear or damage.
Frequently Asked Questions
How Can I Identify Roof Damage From the Ground?
To identify roof damage from the ground, use these roof inspection tips: look for missing shingles, sagging areas, or dark spots. Common roof issues include leaks and moss growth, which signal potential underlying problems.
What Should I Do if Water Is Leaking Inside?
If water’s leaking inside, immediately contain the leak to prevent further water damage. Contact emergency services for prompt assistance. Document the damage for insurance claims, and avoid using electrical appliances near the leak to guarantee safety.
Are There DIY Roof Repair Options for Minor Leaks?
Yes, there are DIY options for minor leaks. Start with leak detection to identify the source, then use repair materials like sealants or patches to fix the issue temporarily until a professional can assess it.
How Long Can I Wait Before Repairing Roof Damage?
You shouldn’t wait too long after a damage assessment. A roof repair timeline can vary, but addressing issues promptly prevents further deterioration. Delaying repairs can lead to more extensive damage and increased repair costs.